
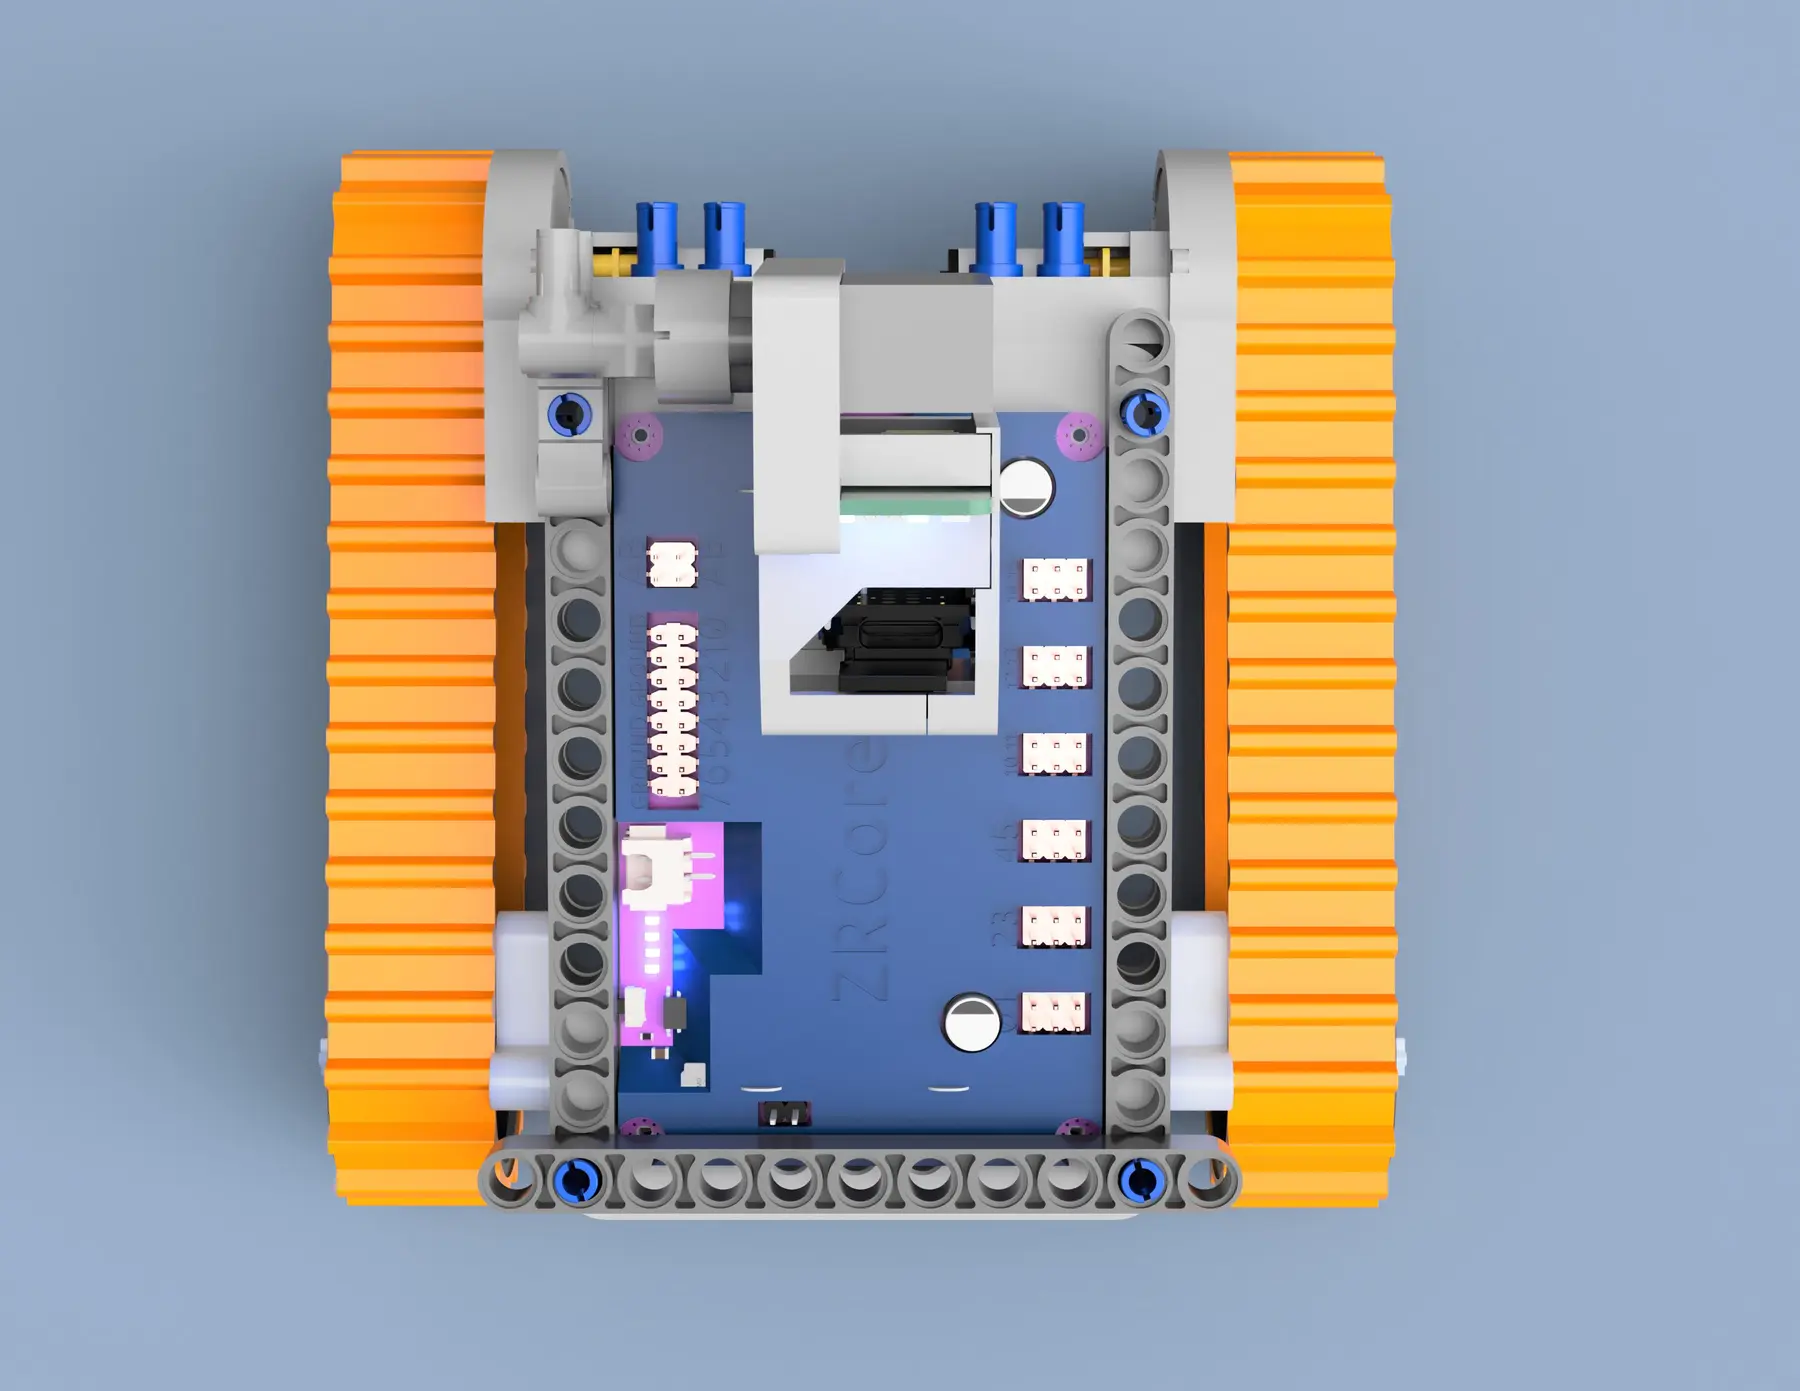
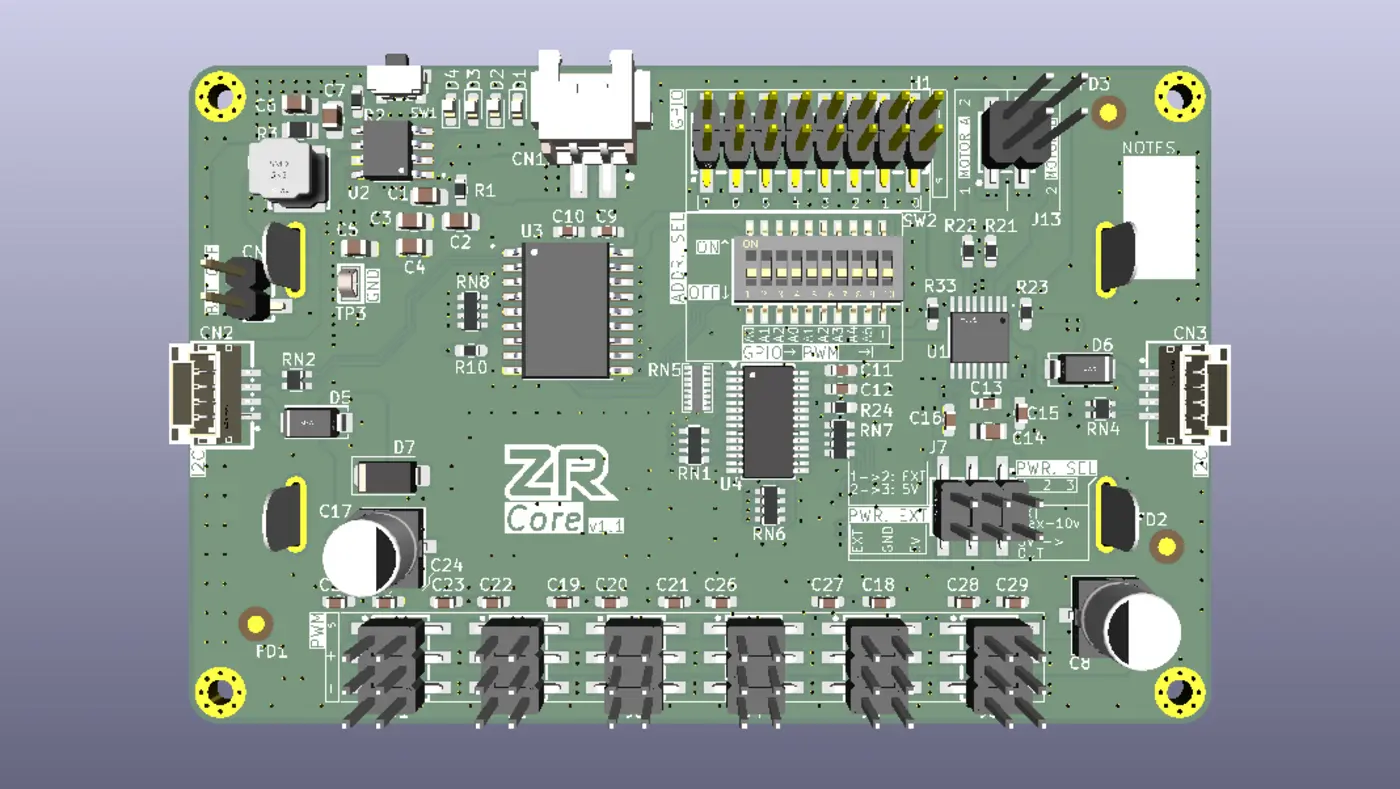
 ACTUAL PRODUCT RENDER / TOP VIEW
Product platform
Hardware.
Control.
From free firmware to fully assembled robots — the Zone Robotics stack layer by layer.
MODULAR HARDWARE
How the boards work together.
ZRCore is the base — handles power and motion. ZRSense stacks on top over I²C for the ESP32-S3 compute, camera, sensors and RGB status. Flexible, expandable and built to move.
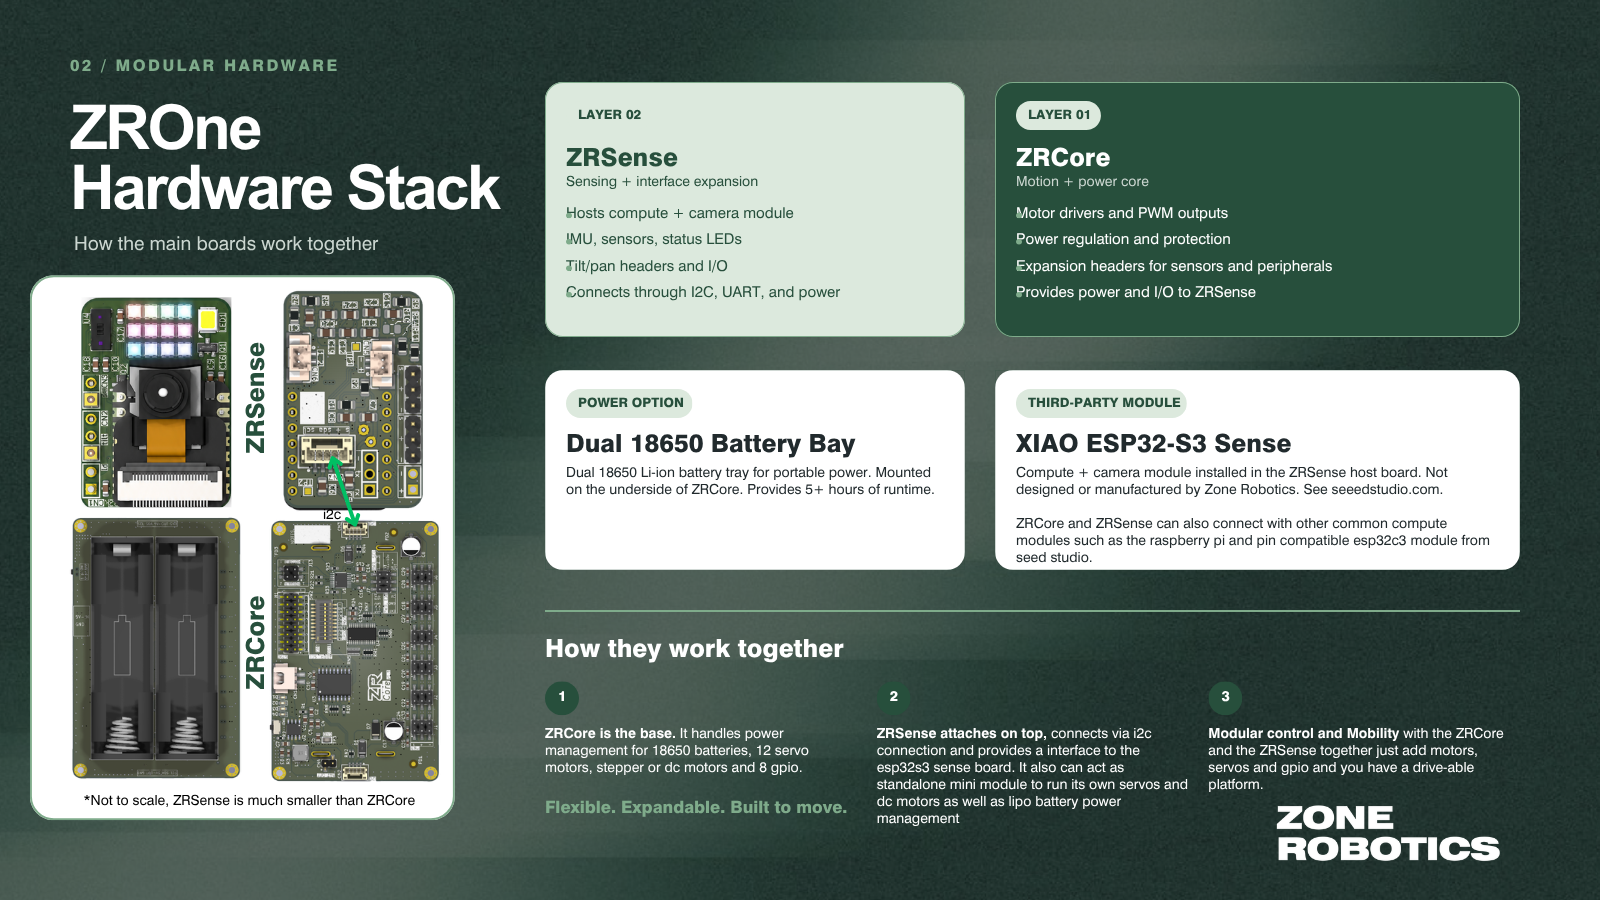
Product architecture
Explore the layers.
Six layers / Firmware to full platform
ZROS
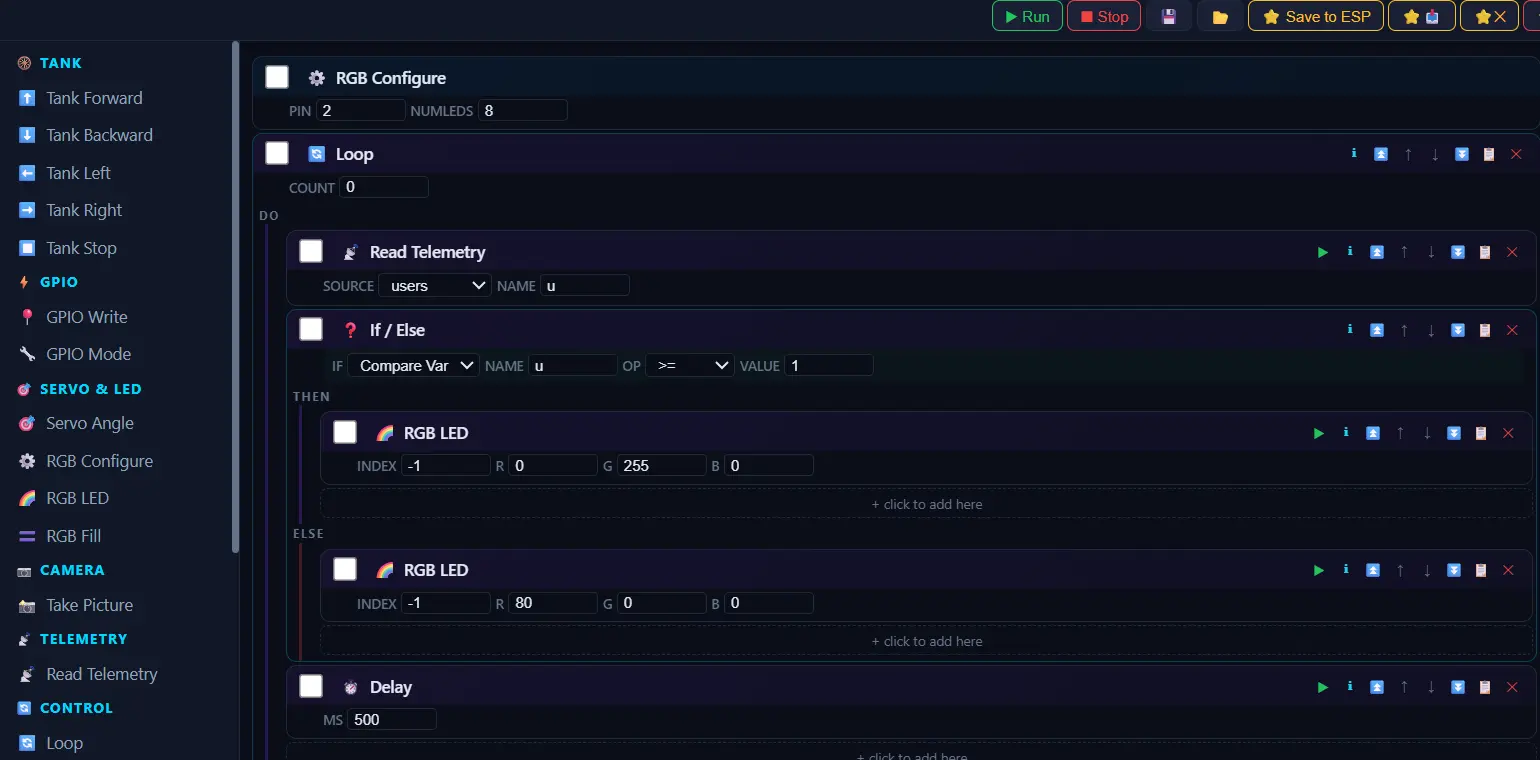
Free ESP32-S3 firmware you flash onto your own hardware. Camera streaming, motor and servo control, RGB status lighting and a browser-based programmer — all running on the device.
- Free download
- Runs on ESP32-S3
- Local browser control
- Open flashing guide
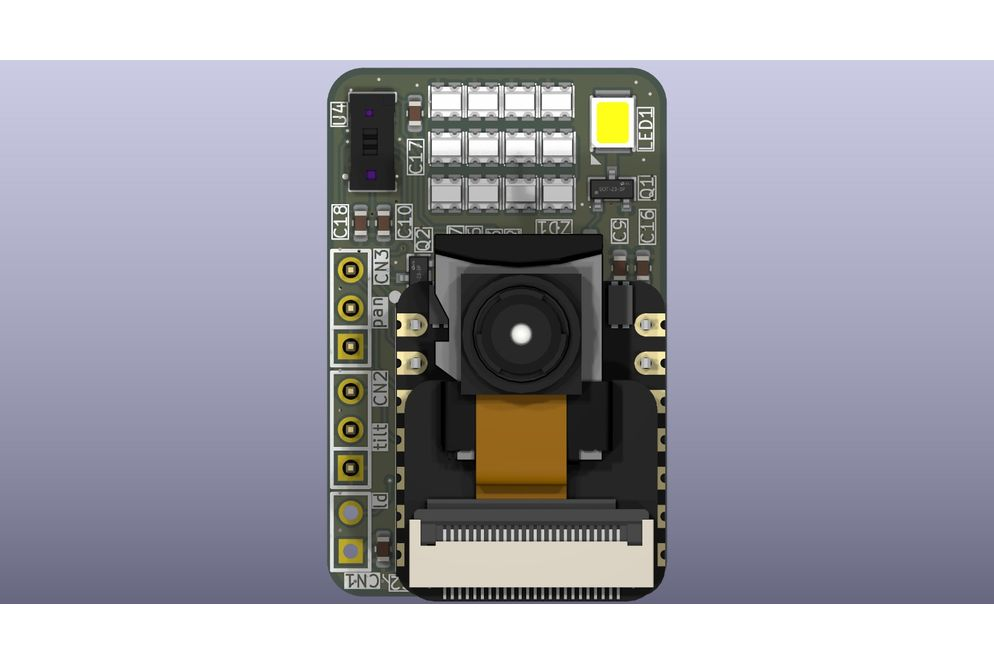
ZRSense
The board that carries the ESP32-S3 Sense hardware — used for camera streaming, sensor input, connectivity and RGB status lighting.
- ESP32-S3 module
- Onboard camera
- Video streaming
- Sensors + RGB status
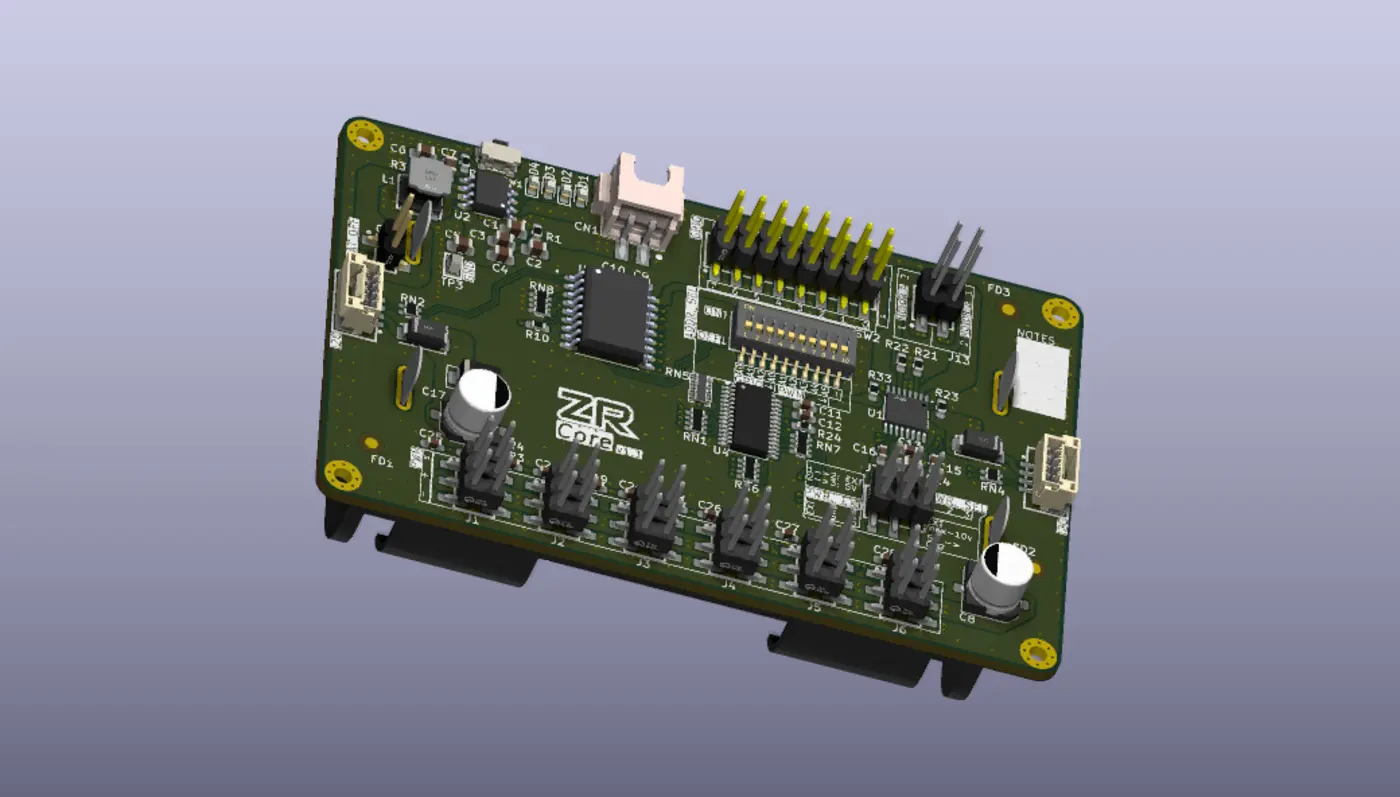
ZRCore
The big board — handles motor and servo output, power management and the I²C connection used to expand the platform.
- Motor + servo control
- Power + battery
- I²C device connection
- Expansion I/O
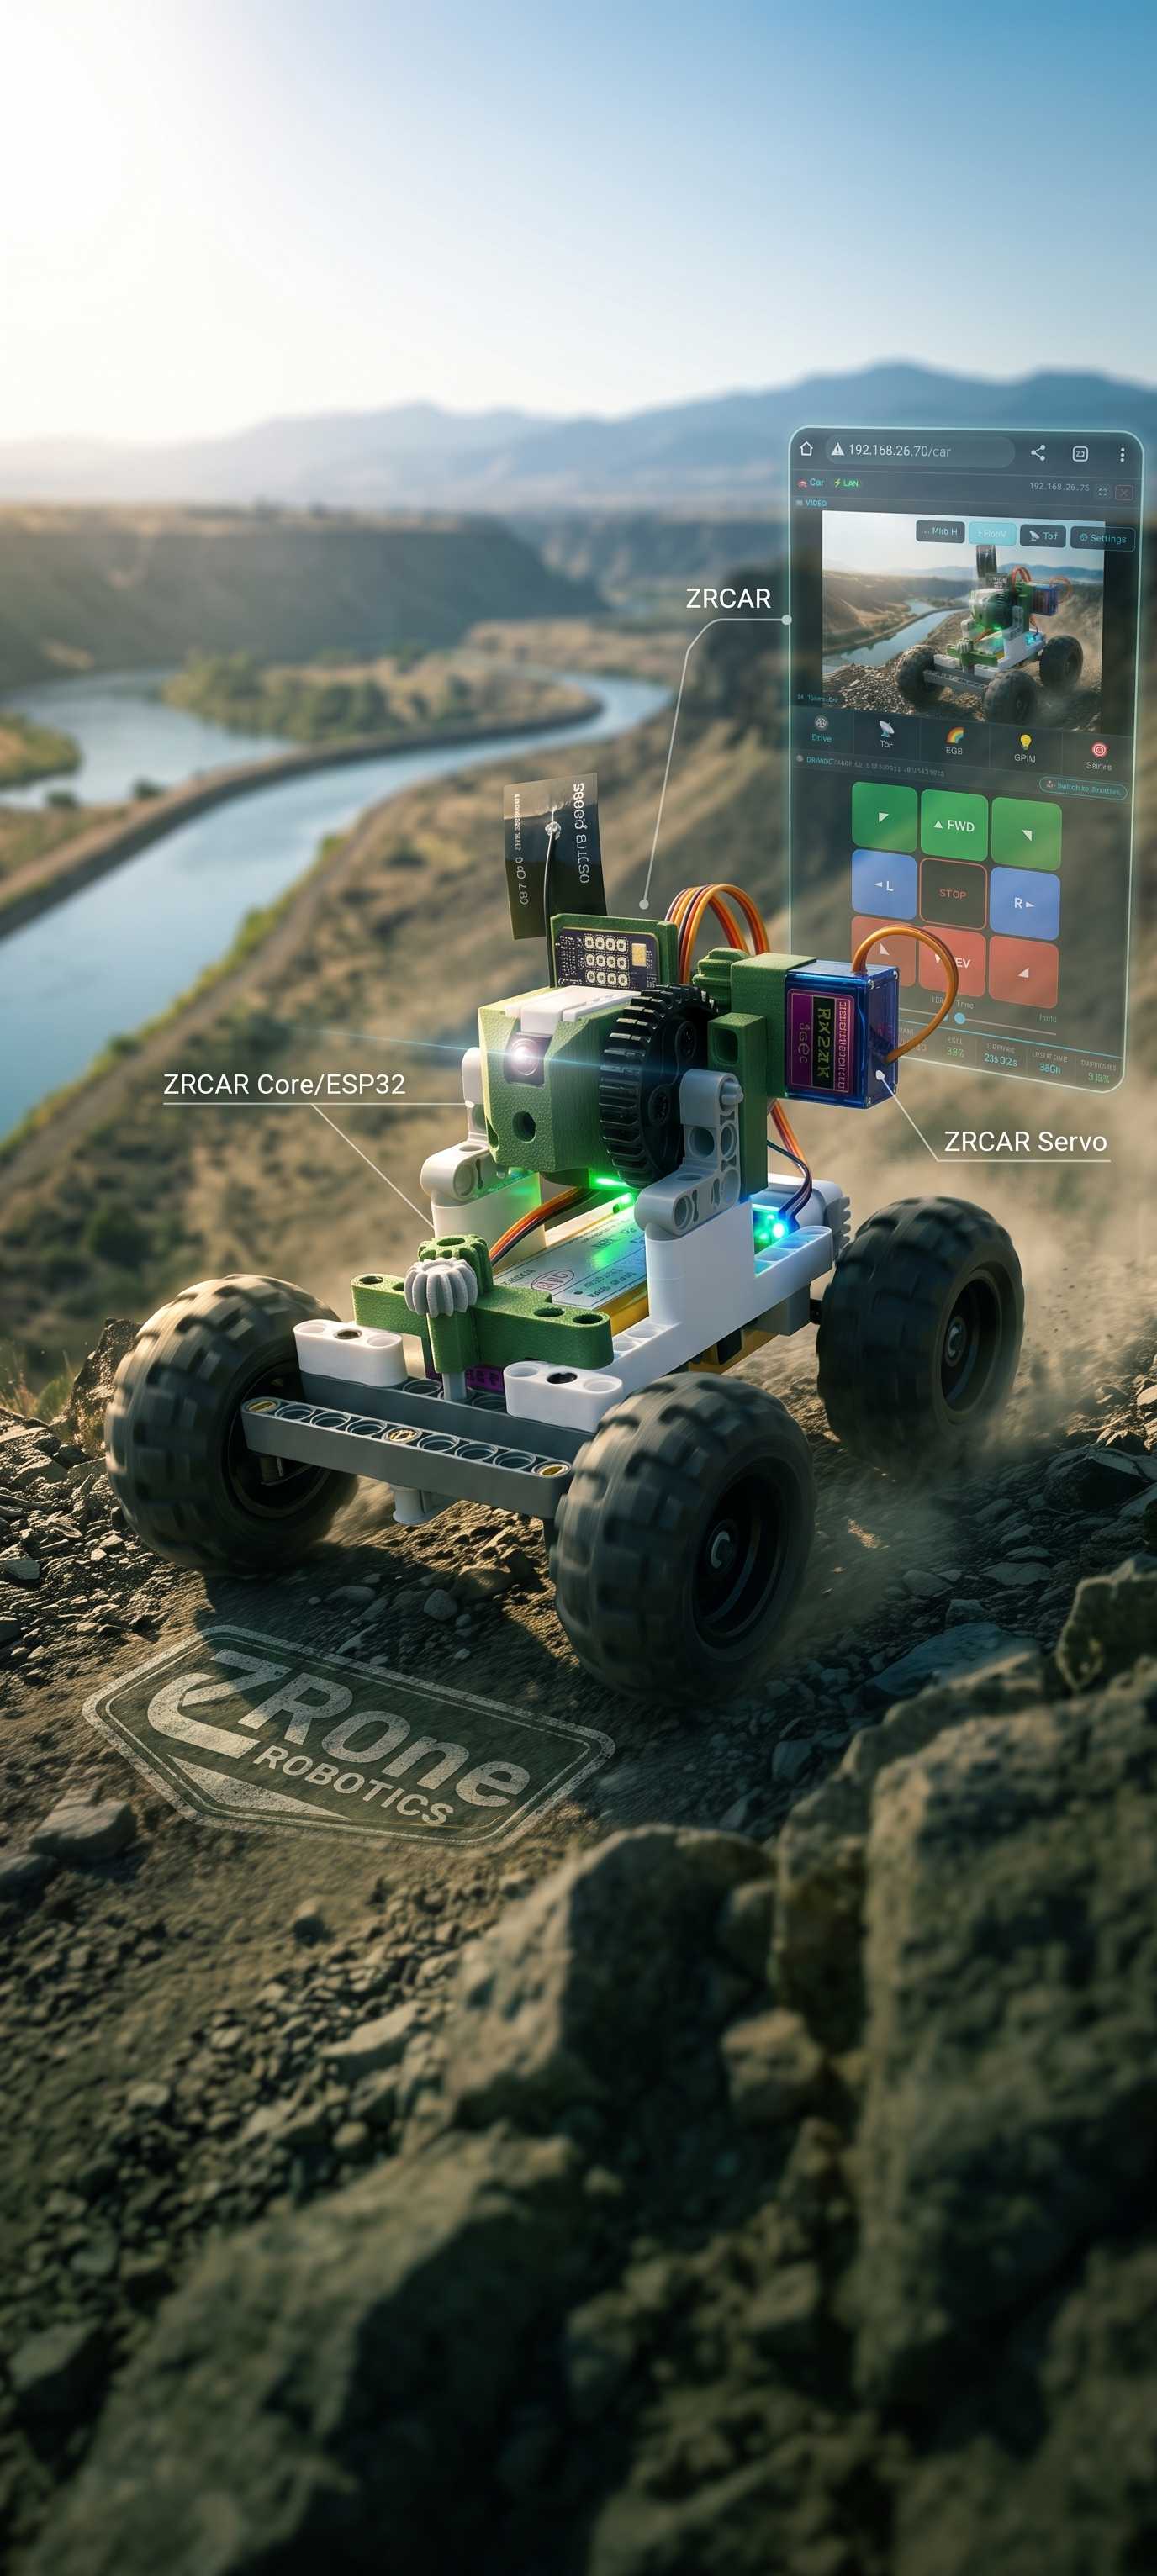
ZRCar
A mini version of the platform built around a single ZRSense board — the fastest way to get a Zone Robotics robot moving. Shipping first.
- ZRSense onboard
- Compact chassis
- Ready to run
- Available first
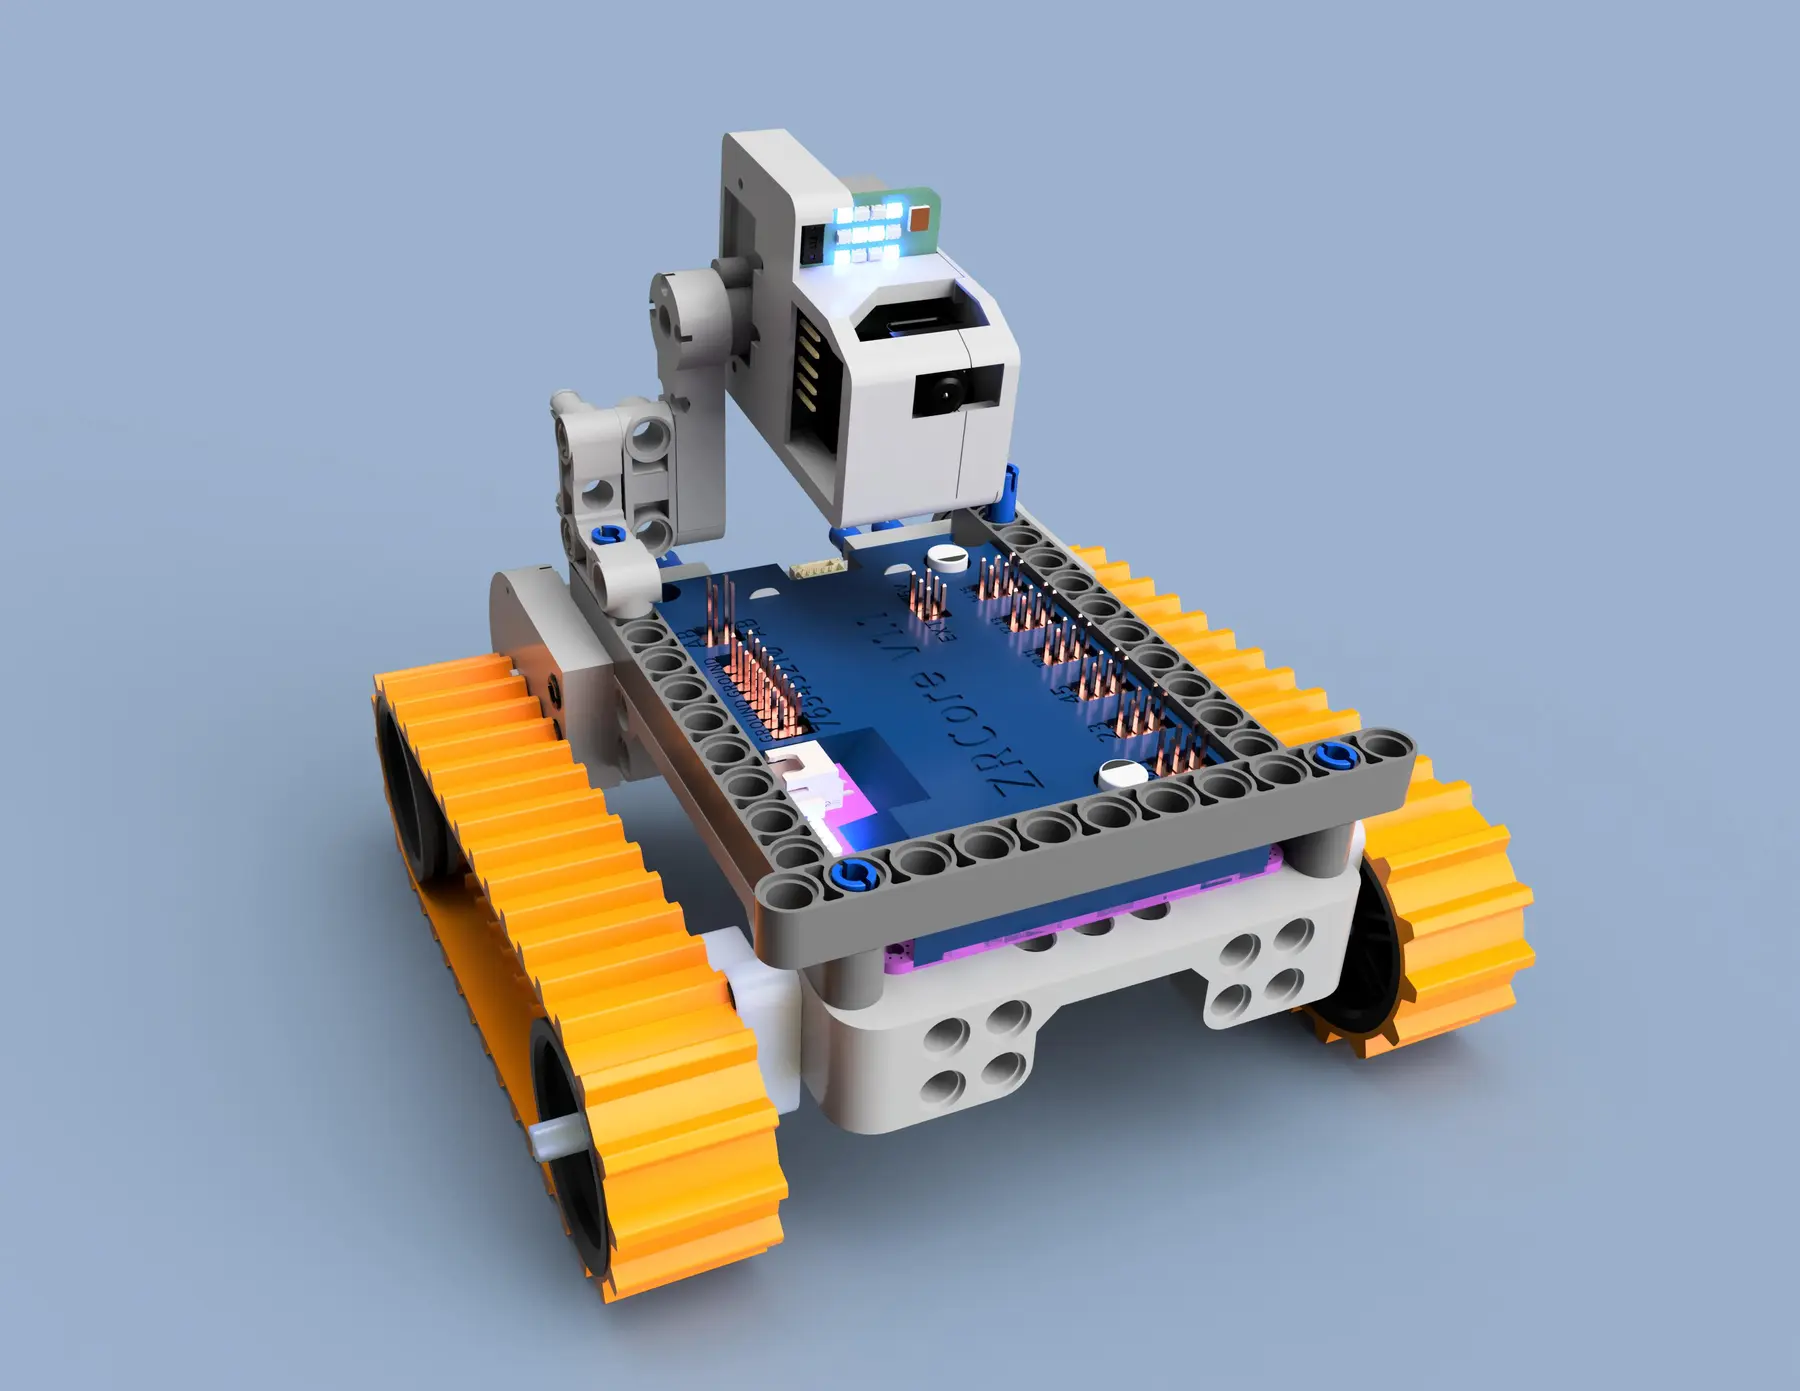
ZRTank
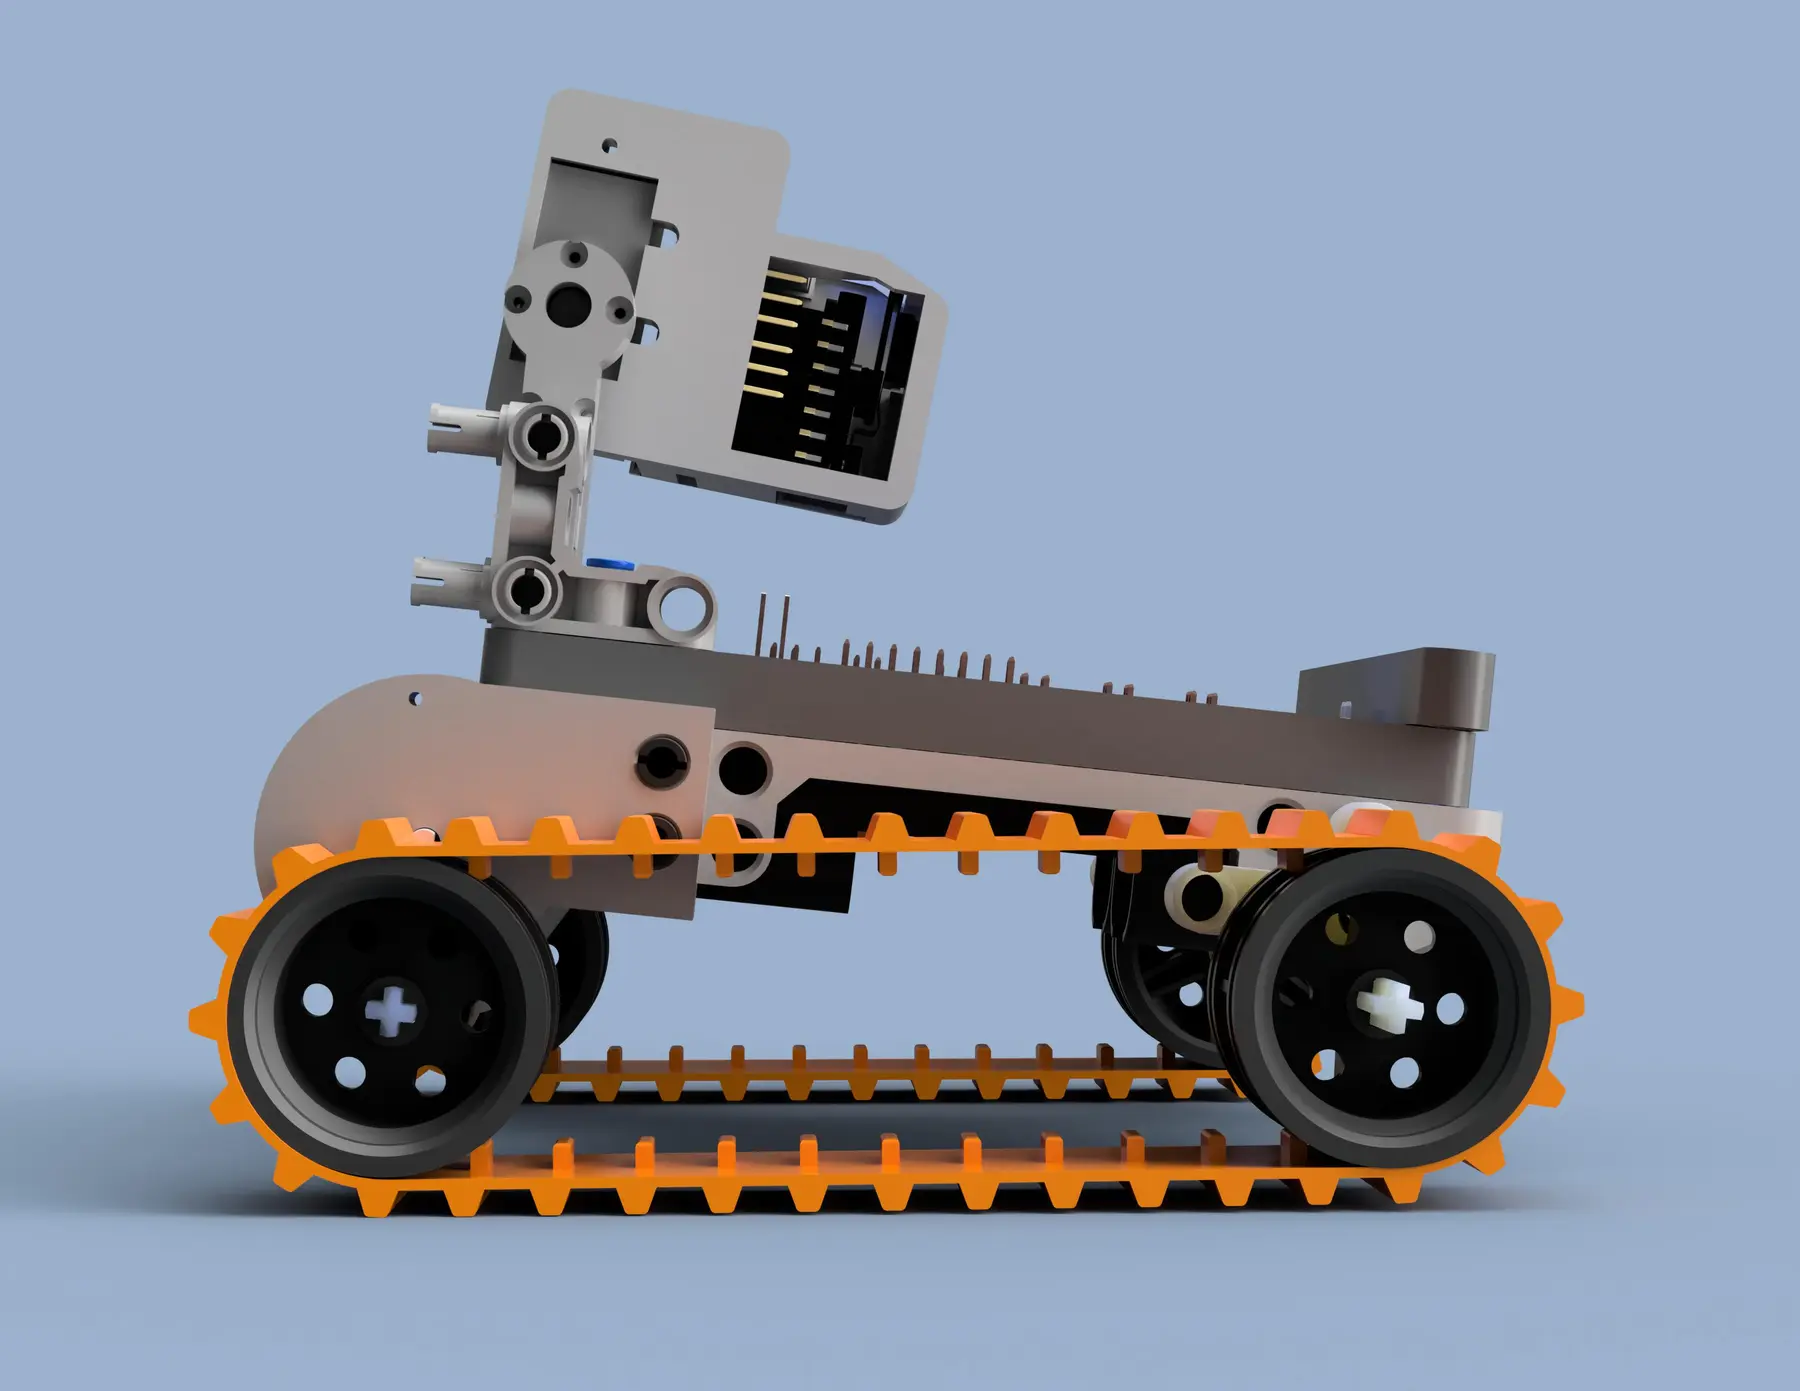
The full modular platform — tracked chassis, ZRCore + ZRSense hardware, motors, servos and browser control. Still in development — available later.
- Full platform
- Tracked chassis
- Modular hardware
- In development
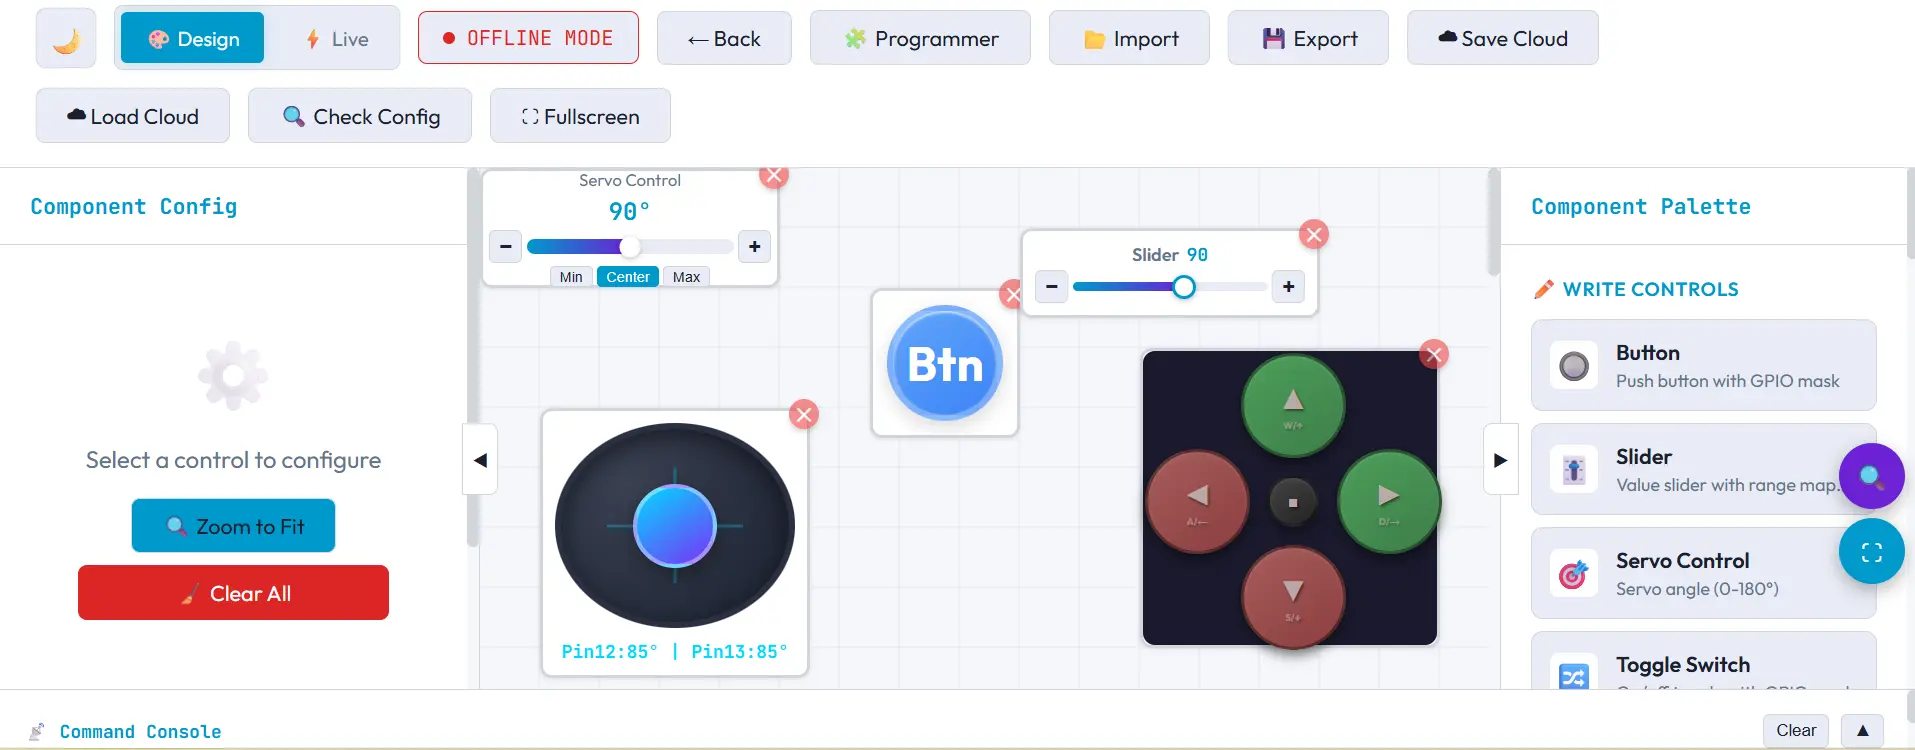
ZR Cloud
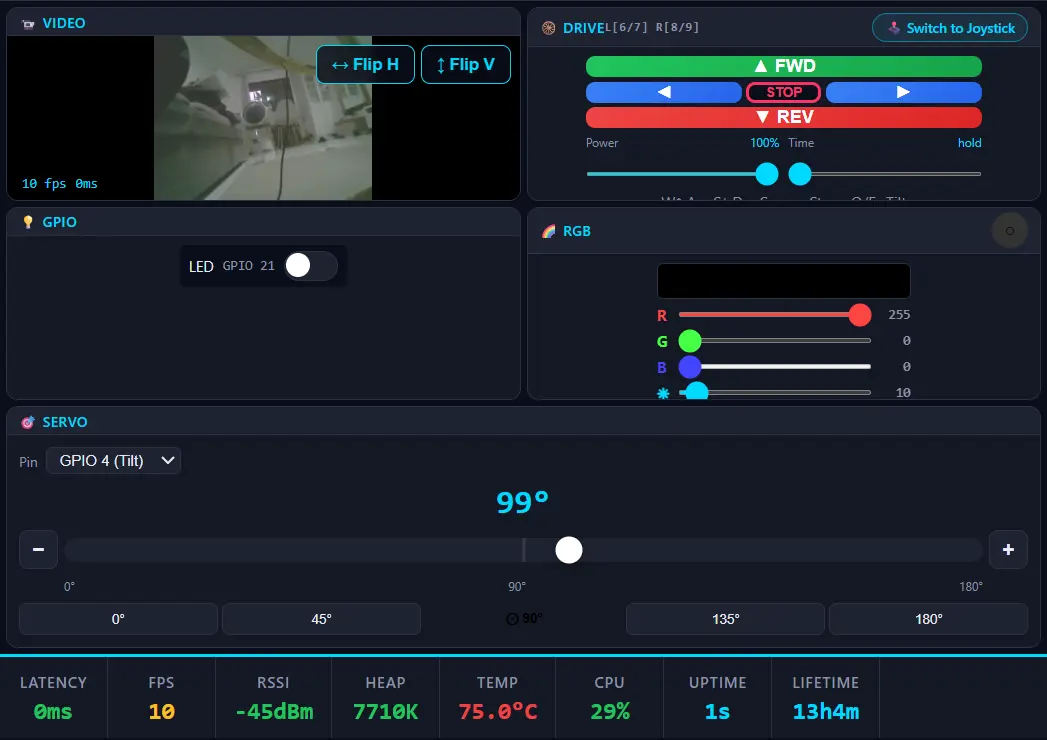
Control movement, view live video and create custom layouts through a web interface connected to your robot in real time.
- Remote control
- Live communication
- Custom dashboards
- Control layouts
The workflow
Build. Connect.
Control.
Four clear steps take the platform from separate parts to a connected machine.
- 01
Choose the build
Start with a tracked rover or shape a different LEGO Technic-compatible chassis.
- 02
Connect the hardware
Connect ZRCore and ZRSense over I²C, then add motors, servos and power.
- 03
Bring it online
Provision the robot and bring it into the browser-based control environment.
- 04
Shape the controls
Create the control layout and behaviour the finished build needs.